
I recently attempted to transfer my old Acorn Electron tapes onto modern emulators. This post reports what I’ve discovered so far. Hopefully, I’ll update it as time goes on and I learn more.
There are three steps I followed:
- Record a WAV file of the tape
- Convert the WAV file to a tape image
- Using tape images in emulators
Step 1: Record a WAV file
The first step involves transferring the audio signal from a tape into a WAV file on a modern computer. For a tape player, I used a Panasonic micro hifi system that I got a few years ago – one of the last with a tape deck on it:
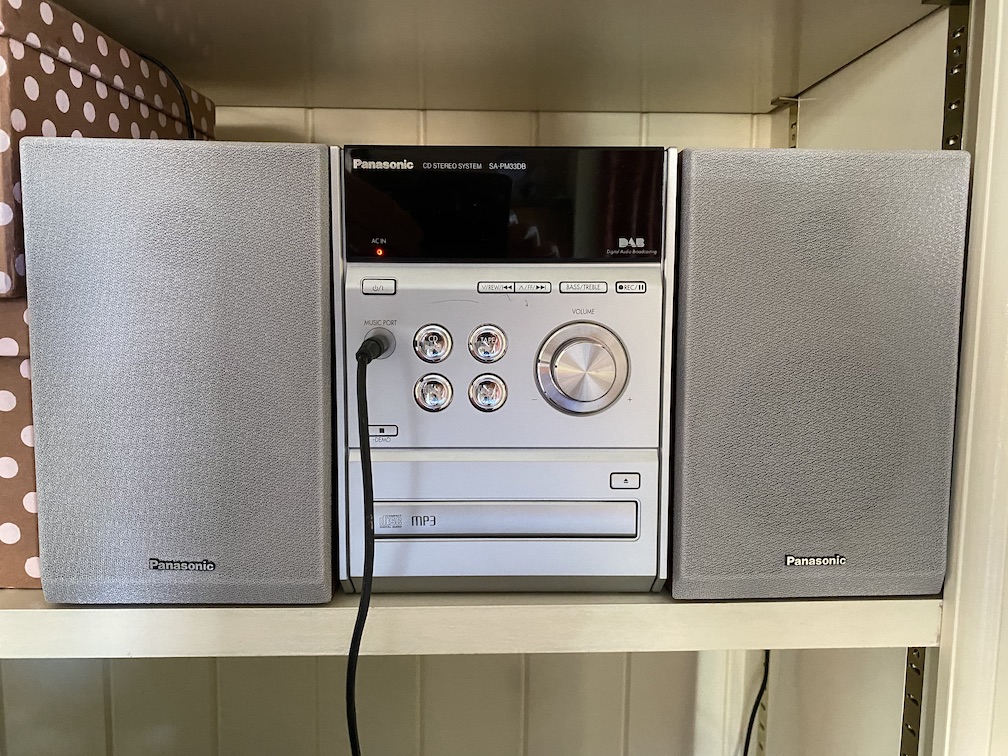
I took a 3.5mm jack lead from the headphone socket on the hifi to the microphone/headphone socket of my MacBook Pro.
Many people recommend the free Audacity software for recording to WAV. For some reason, I couldn’t get the record option to work on my Mac and ended up giving up and using Audio Hijack software instead. I then use Audacity to do a bit of format conversion with the recordings.
Within Audio Hijack, I set up the following:
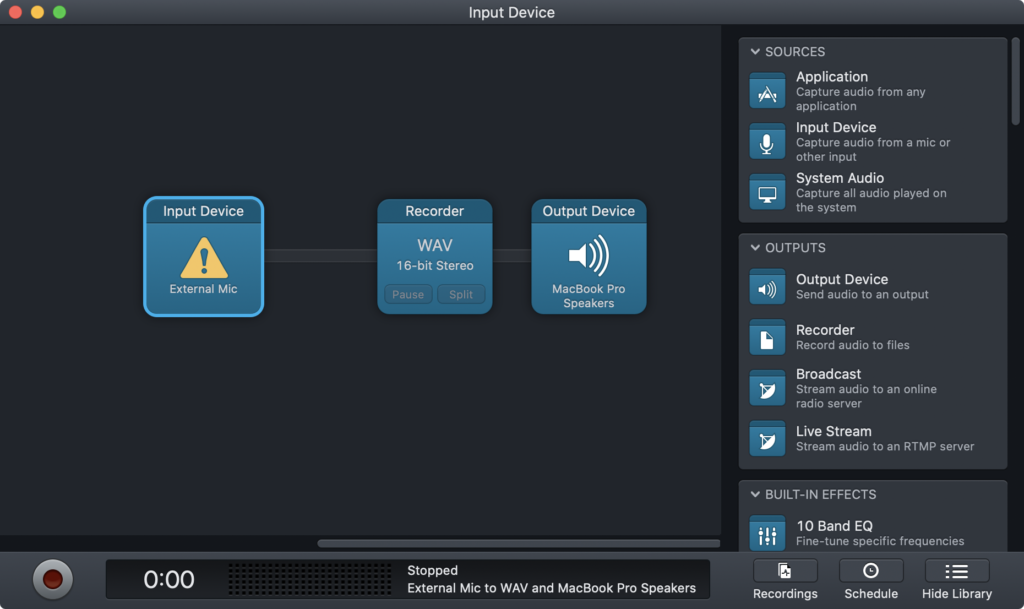
The warning sign is displayed under input device because I didn’t actually have a signal connected when I took the screenshot. The Recorder is setup to record at 44,100 Hz and 16bit. For the software that converts the WAV to a tape image, you need 44.1Khz frequency, but 8bit recording. However, Audio Hijack doesn’t offer the option for 8bit and we need to change that later.
The software also requires a mono signal. However, I’ve set Audio Hijack up for stereo recording. The reason is that by recording both channels, you have two attempts at transferring the data. It may be that the left channel provides a better signal for some files, or vice versa.
The other thing you need to make sure is that your volume level is set correctly. You don’t want peaks to be clipped, so the idea is to try to make sure that peak signal is about three quarters of the way up the waveform. Basically this is trial and error – set a volume level, record a signal, then look at it in Audacity.
Step 2: Convert the WAV to a tape image
In Audacity, I carry out the following:
- Load the WAV file.
- Edit out any blank signal, by selecting it and pressing delete.
- Convert stereo to mono, by clicking on the menu icon (small down arrow) on the top left of the waveform, then clicking “Split Stereo to Mono”.
- Delete either the left or the right channel, depending on which one I am wanting to use.
- Select File -> Export -> Export as WAV.
- Under File type, selected “Other uncompressed files”. Then select “WAV (Microsoft)” under Header and “Unsigned 8-bit PCM” under “Encoding”.
I then use the MakeUEF tool to convert the WAV file into a UEF image which can be used with emulators. The basic MakeUEF tool can’t go from WAV files, but the accompanying MakeUEFAm can. The command is:
MakeUEFAm.exe -I input.WAV -o output.UEFExample output:
C:\Users\richard\Desktop\Tapes>MakeUEFAm.exe -i Tape2SideA_Try2_8bit.wav -o T2SAT2.UEF
Found :            00   Checksum ok
Missed a block.
Found :            00   Checksum ok
Missed a block.
Found :            00   Checksum ok
Missed a block.
Found :      2DBOX 00   Checksum ok
Found :      2DBOX 01   Checksum ok
Found :      2DBOX 02   Checksum ok
Found :      2DBOX 03   Checksum ok
Found :      2DBOX 04   Checksum ok
Found :      2DBOX 05   Checksum ok
Found :      2DBOX 06   Checksum ok, last block flag
...
Found :  EARTHRITE 18   Checksum ok
Found :  EARTHRITE 19   Checksum ok

C:\Users\richard\Desktop\Tapes>
Unfortunately, as above, you may find some blocks are missing or some checksums fail. In this situation, you could try running the other channel from the stereo file, or try re-recording the tape.
Step 3: Using tape images in emulators
Both BeebEm and B-Em allow you to load UEF tape images, as do many other emulators. I found that I preferred B-em’s tape handling to BeebEm, as it has a tape catalogue option which lets you see the files on the tape in a list.
For easy access, I wanted to transfer the tapes to disc. There are a number of factors to consider here:
- PAGE – this gives the memory location of the bottom of available user memory. On tape based systems, it is set to &E00, while on disc based systems, it is &1900 (I think – see this post). Machine code programs (ones that are *RUN) have an execution address defined in the file attributes. So if you transfer these from tape, then try to run from disc, you could get into problems. They need to be converted to work properly from disc. Fortunately, most of what I was transferring was BASIC programs that I had written as a child, so this wasn’t an issue.
- Filenames – tape filenames can have more characters than disc filenames, so it will be necessary to truncate some filenames when saving to disc.
There are a couple of BBC ROMs that can help to automate the process of transferring files from tape to disc. I ended up using the Advanced Disc Toolkit from Advanced Computer Products. You can find the manual here as scanned PDF or here as RTF text. You can find a ROM image here which can be installed in BeebEm or B-em.
Transferring from tape to disc involves the command:
*XFER TAPE DISCThis will transfer the whole of a tape to disc. However, you do have to watch out for the truncation of filenames which means that files can get overwritten. To handle that, you can specify the names of individual files to copy.